Get rolling
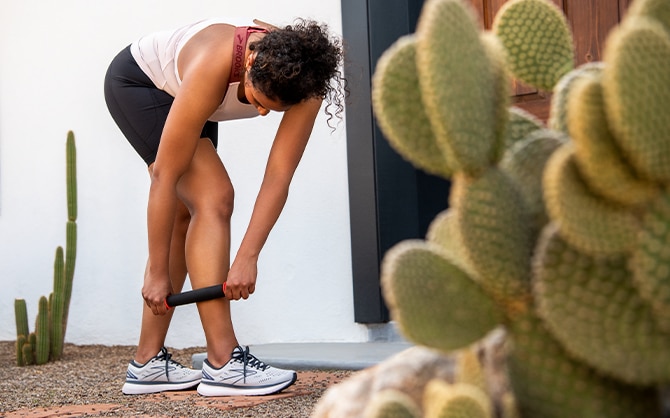
Use a foam roller to optimize muscle efficiency, work out pesky muscle knots, and help reduce injury recovery time.
Editor’s note: This article was produced in partnership with Tiger Tail USA.
What is self-myofascial release?
Also known as foam rolling, self-myofascial release are exercise techniques that help smooth out fascia, the internal connective that surrounds our muscles, bones, and organs. This dynamic tissue gives structure and form to our bodies.
Tight fascia can cause restrictions in most of the systems of the human body. Runners most relate to tight fascia in the muscles because it gives us a “stuck” feeling. This can lead to pain, reduced range-of-motion, and the development of muscle knots. Applying gentle but sustained pressure to these points of muscle restrictions help return the fascia to its normal state.
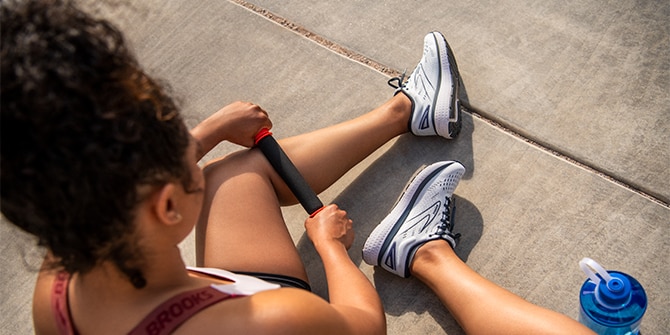
It hurts so good: three tips for proper foam rolling
Tiger Tail USA designs popular self-myofascial products ranging from handheld rollers to full foam rollers and balls. The company focuses on education, too — they teach you why your muscles hurt and where the source of the pain is coming from.
Here are three Tiger Tail tips to help you roll the right way:
When is the best time to roll?
Roll before activity, workout, run, physical therapy, massage, etc. Foam rolling is often considered a post-activity routine, but don’t miss out on the big reward of pre-activity rolling. Preparing your muscles to work their best allows you to push harder on your run.
How do you roll?
Start soft and slow and progressively increase pressure as you roll. If you are rolling too quickly without much pressure, you will not achieve desired results. Be consistent and aim for at least 5-10 minutes every day. That’s only 30–60 seconds per muscle group!
What does your body say?
If it “hurts so good,” you’re probably doing it right. Sufficient pressure will release muscle knots, loosen fascia and help diminish soreness. If it “hurts too bad,” you are putting too much pressure which will cause your muscles to tense up and make it harder to get the desired myofascial release. Make sure you stay hydrated — drinking plenty of water will help reduce discomfort during rolling.
Do these exercises pre- or post-run
Are you looking to loosen up before or after your workout? Anthony Held, licensed massage therapist at Island Fitness in Bainbridge Island, WA, shares five easy self-myofascial release exercises using a handheld foam roller.
Quads
Sit on a bench with your knees somewhere between straight and 90 degrees. Slowly roll from your hip to your knee and back several times. Start with the roller perpendicular to your upper leg and parallel to the ground. After a few passes down the middle, roll the inner (medial) part of your quadriceps and the outer (lateral) quadriceps.
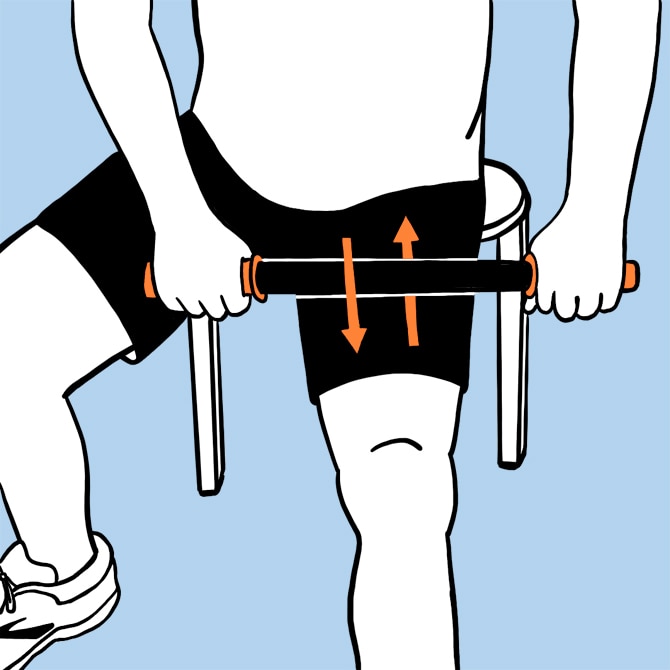
Hamstrings
In the same position as the quad exercise, pull the roller up against your hamstring muscles. Repeat the same sequence as the previous exercise.
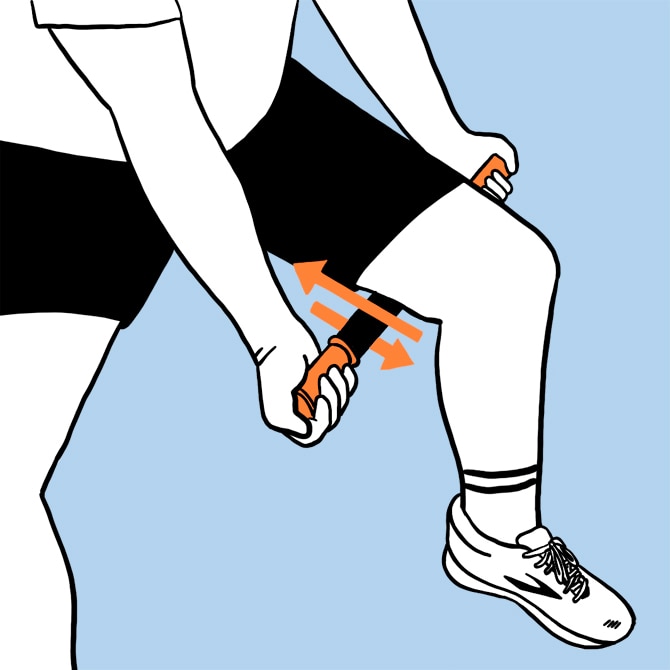
Shins
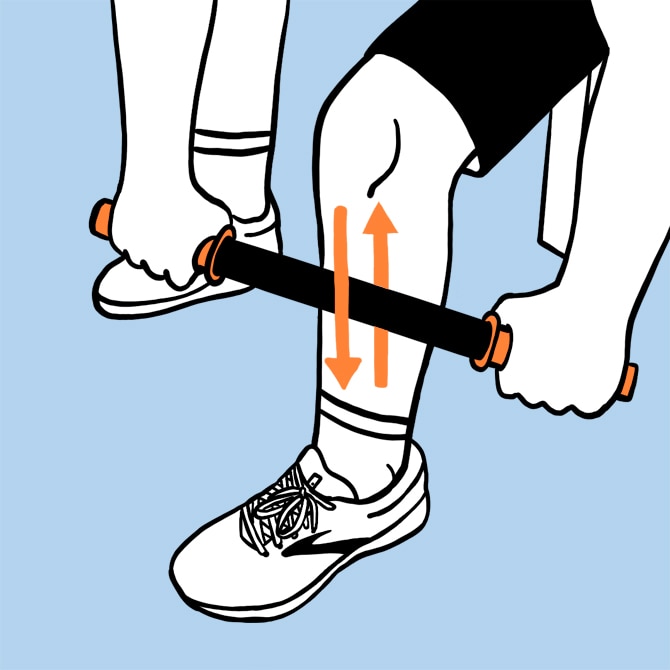
Find a comfortable seated position where you can bend over and reach your lower leg. Slowly move the roller up and down the outside of yours shin where the muscle is.
Calves
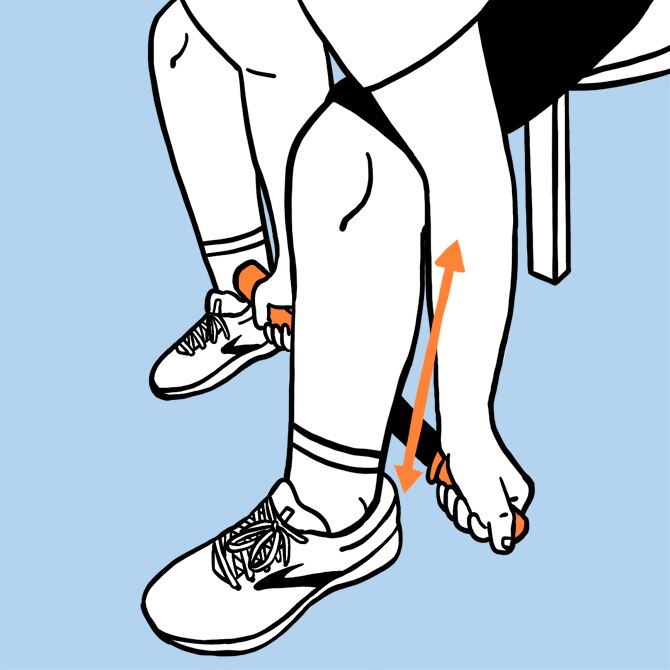
In the same position as the shin exercise, pull the roller against your calf muscles from about 2 inches above the heal up to about 2inches from the back of the knee. Do not roll directly on the back of your knee.
Low back and obliques
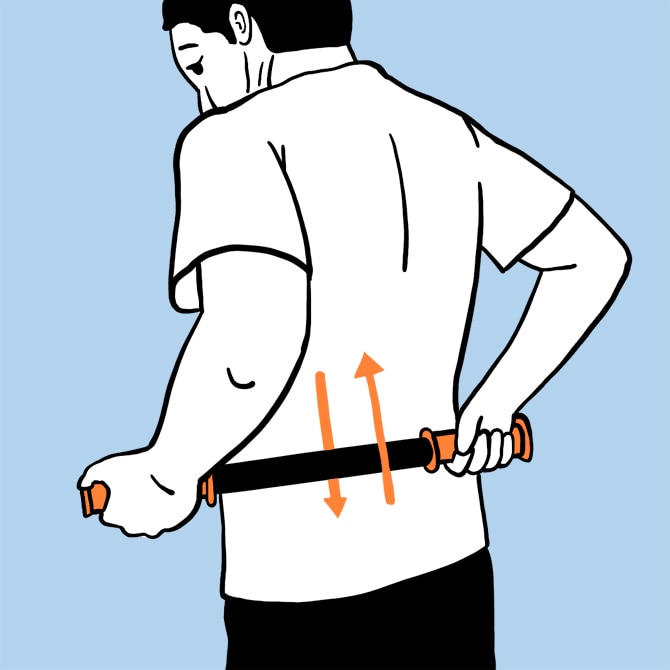
In standing or seated position, place the roller at an angle across your lower back. Roll from the top of the hip bone to the bottom of the ribs changing the angle to roll both the oblique muscles on the side of the back over to the firm muscles along the spine. Do not roll directly on your spine.
Learn more about self-myofascial release at tigertailusa.com/muscle-education/.
